


Retrofitting towbars, made easy
Installing a towbar is not at all difficult and you can do it yourself with a little practical skill. If you retrofit a towbar, you will soon no longer miss the extra convenience. Finally, a new class of variability sets in regardless of the body shape of the vehicle: Own or rented trailers can now be moved in the same way as practical bike carriers for towbar mounting.
So it works with the retrofitting of your towbar.
At first, get an overview of the delivered parts: The towbar consists of mechanical components and a vehicle-specific electrical set, which controls the trailer lighting. Before you start installing the towbar, get all your necessary tools ready. There are a few things you may have to borrow.
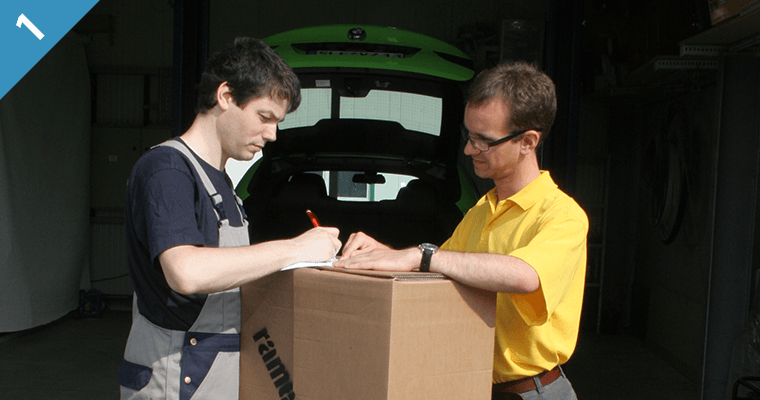
1. After a few days, the coupling will be delivered via DHL, UPS or GLS.
2. The new towbar with cables, socket, small parts and installation instructions.
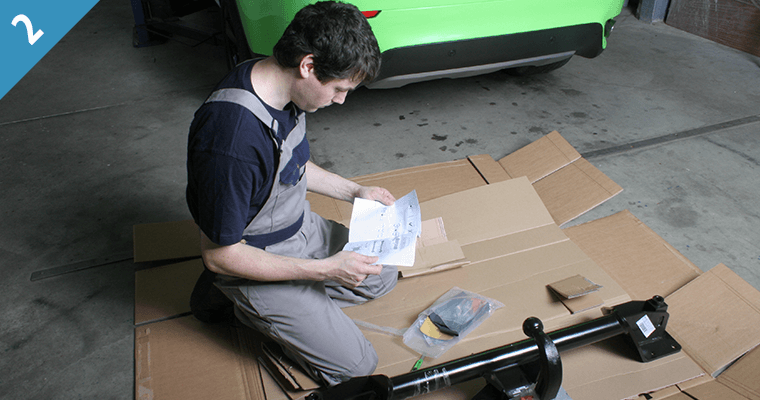
3. The silvery, plastic rear panel must be removed and is replaced later by a new panel with a notch for the towbar.
The following has proven its worth: various wrenches and a ratchet; for safety reasons, a torque wrench should also be used for the main connection, in order to ensure the right tightening torque. A drill machine with a metallic drill and wire brush attachment (alternatively, a stable scraper) and a spray bottle with an underbody coating are also needed. A shunting car lifter is an excellent substitute, if a lifting platform is not available. Take a few small screwdrivers, a soldering iron and insulation tape for the electrical fittings. Before you start, disconnect the minus pole of the battery to avoid the risk of a short-circuit. It is better to consult an expert or to go to a workshop, if you are not familiar with the vehicle electrical system.
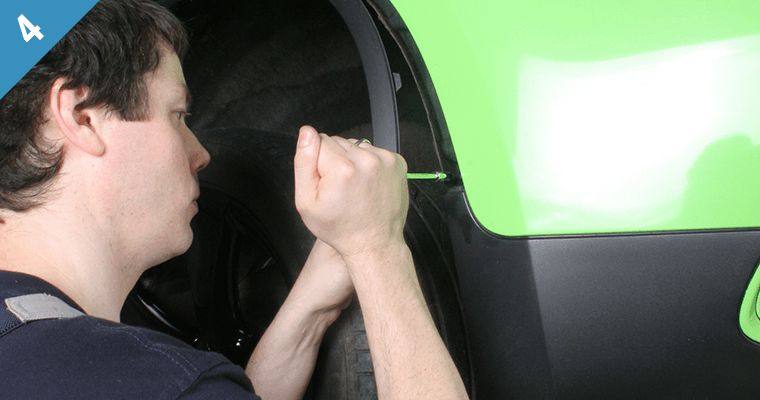
4. Be careful in the wheel boxes when dismantling the rear apron, as otherwise the plastic plugs can get pulled out.
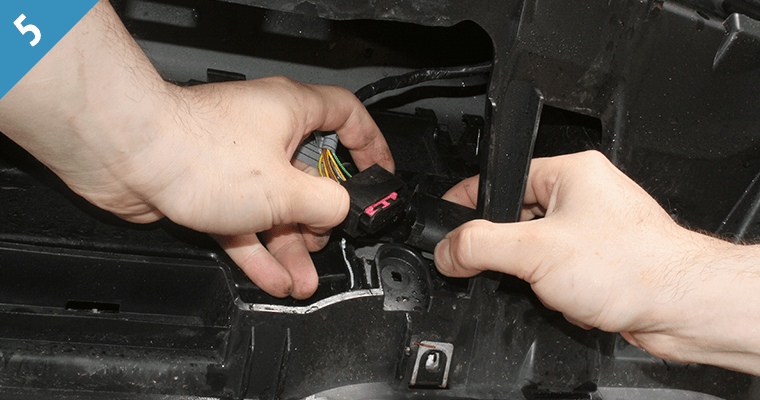
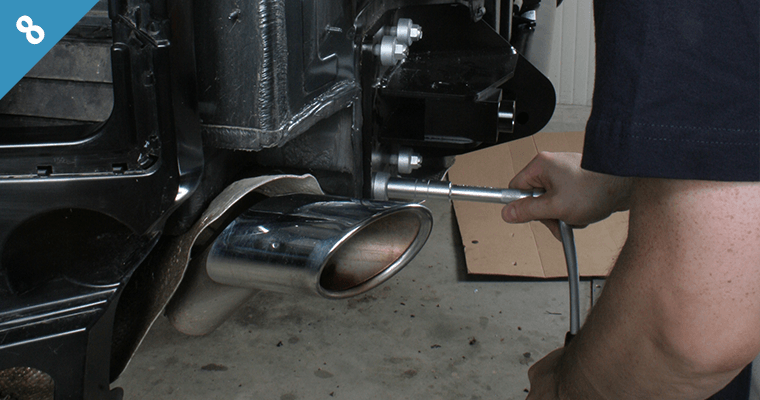
5. After all the screws have been removed, the plug of the lower tail lights must be disconnected.
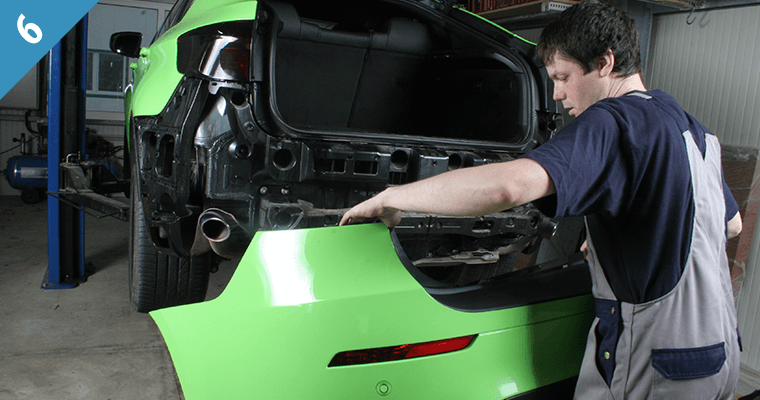
6. The rear bumper can now be removed.
The mechanical work does not present any insurmountable obstacles even to the inexperienced persons. But even the professionals should follow the installation instructions strictly, because the retrofitting work is different in important details depending upon the vehicle type. If you pay attention to all this, you can be finished with the attachment of the ball head after a good one hour. And now for TÜV or Dekra? Not necessarily. High-quality branded products, like the ones offered by Rameder, mostly have a so-called EC type approval EC94/20. It is a kind of European ABE (Vehicle Type Approval) for towbars and eliminates the need for an official entry, but must always be carried along in the car.
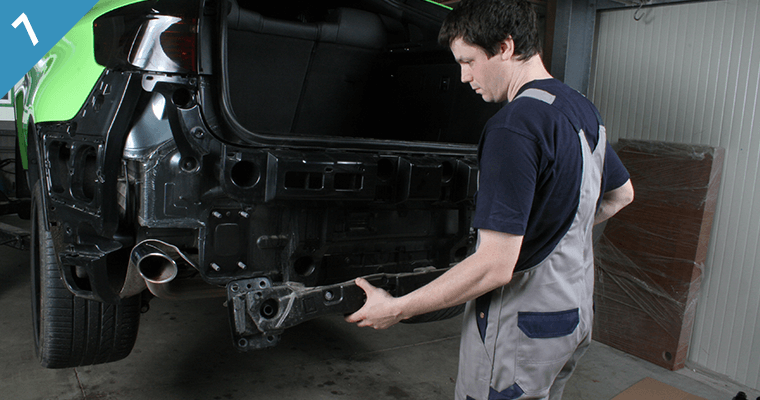
7. The towbar replaces the original cross-beam of BMW.
8. The towbar is bolted on the right and left at the four available, stable bolts.
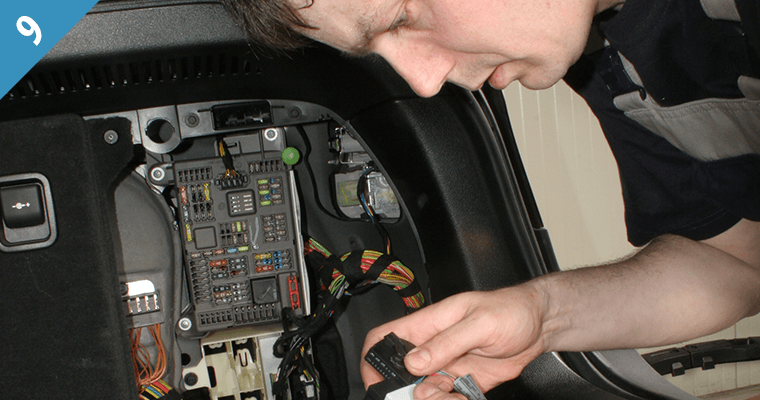
9. The cables are connected in the boot space to the on-board electrical system.
You can make a voluntary registration, if you want to play it safe with your retrofitted towbar. The benefit of this is that no separate papers need to be carried along. In addition, a technology expert pays attention to the correct mounting during acceptance. As an amateur installer, in this way I can make out whether I have done everything right during installation. One more small tip for operating the trailers: For reasons of your own safety, please adhere to the permissible maximum speed of 80 km/h (100 km/h with special approval). The maximum towing capacity and bearing load must also be followed. If you wish to determine the latter on your own, you can do it with bathroom scales.
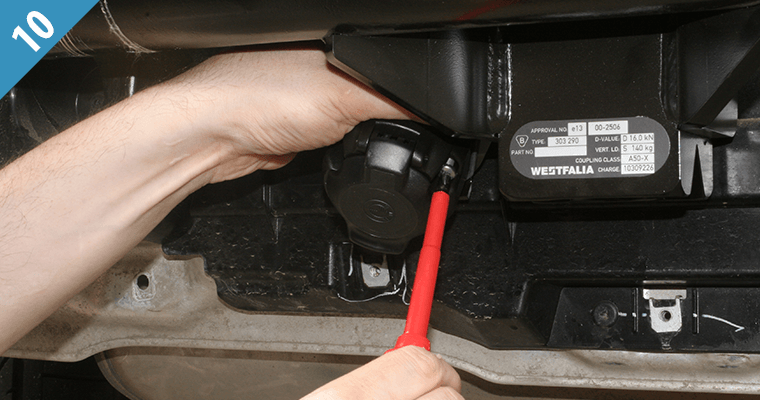
10. The accompanying socket is now screwed.
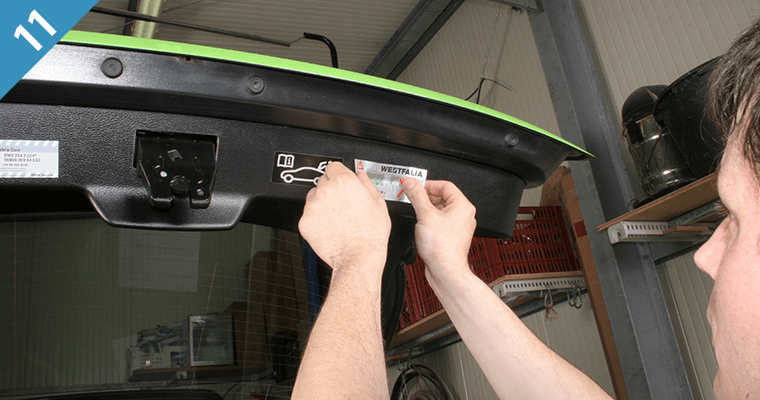
11. The sticker shows the handling of the removable towbar.
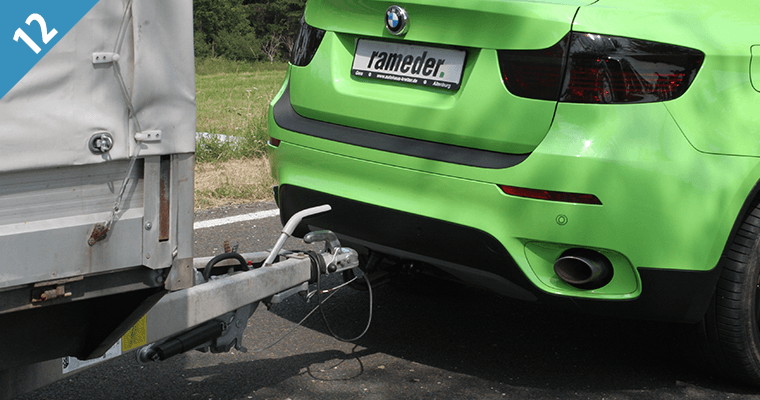
12. The BMW X6 is allowed to pull up to 3.5 tons with the retrofitted towbar.
Contrary to the frequent practice prone to errors, the measurement is not done at the support wheel, but at the coupling jaw. In this case, the trailer is supported with a stable, square timber or a pipe, which is placed directly on the scales. If the value is too high, then it often suffices to shift the load on the trailer in accordance with the lever principle.
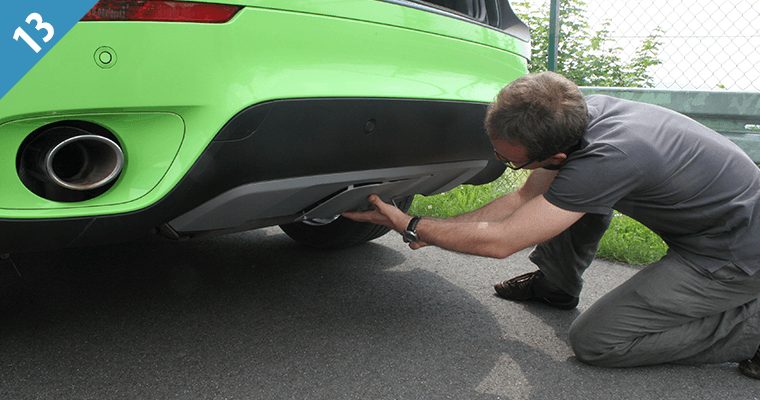
13. A flap covers the socket for the removable ball head.
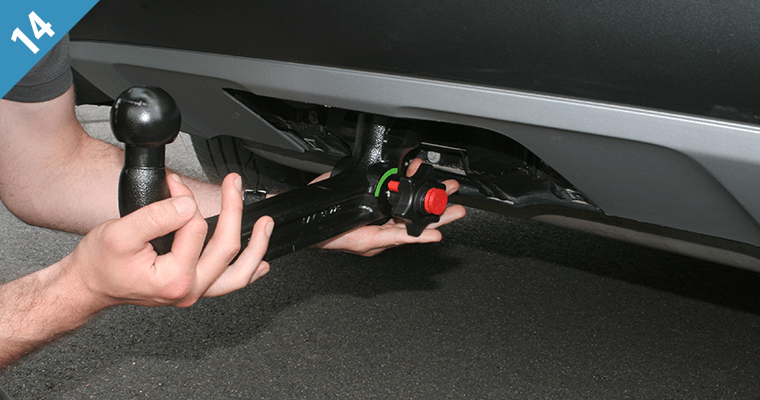
14. The flap is removed and the ball head is inserted from below in the socket of towbar.
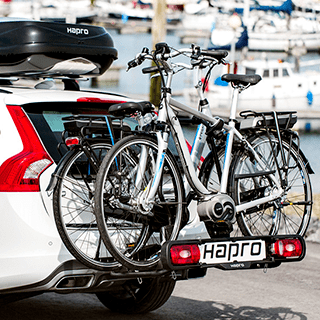
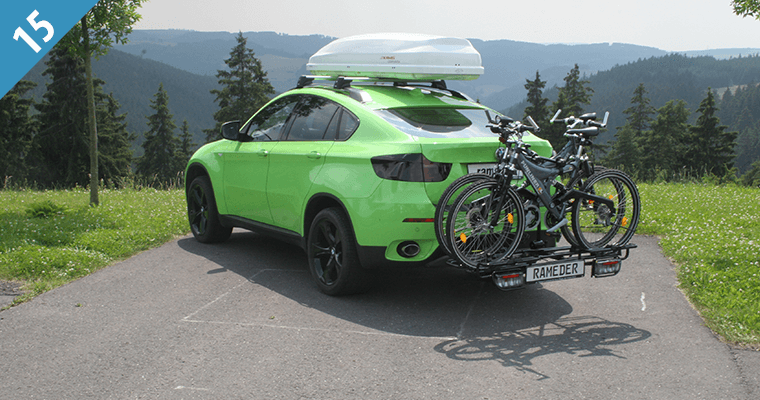
15. Apart from rigid and removable towbars, there are also a lot of roof boxes and bike carriers in the product range of Rameder.
If you follow these tips, you will not have any problem either in retrofitting or in operating the towbars. Are you interested? As you see, retrofitting a towbar is no longer a problem today even for laymen.